Installing Debian 12 on a Dell Wyse 3040 Thin Client
The Dell Wyse 3040 is a little thin client device that’s surprisingly powerful and also very low power. I picked one up last year, new in box, for about £30 for a project. Unfortunately, getting Debian running on it is not so straightforward because it has a buggy EFI implementation which means that whilst you can complete the install, you can’t boot it afterwards.
The Wyse 3040 only uses UEFI and doesn’t support a legacy BIOS mode. Usually, a
boot variable is defined which points to the bootloader for each vendor’s
operating system. In Debian’s case, this should be \EFI\debian\grubx64.efi.
But, the Wyse 3040 firmware is missing this. Instead, we need to force the
bootloader to exist at another known path — originally intended for
removable media: \EFI\boot\bootx64.efi.
Fortunately, there’s an option in the Debian installer to do this which is much more robust than doing it ourselves (which the Debian wiki also describes) as it could be broken with updates.
I’ll be installing Debian on an otherwise empty USB flash drive to maintain the original install, and booting from another USB drive with the latest Debian netinst on. You can disable booting from the internal drive, if you want. Nothing else in the firmware needs changing from the defaults.
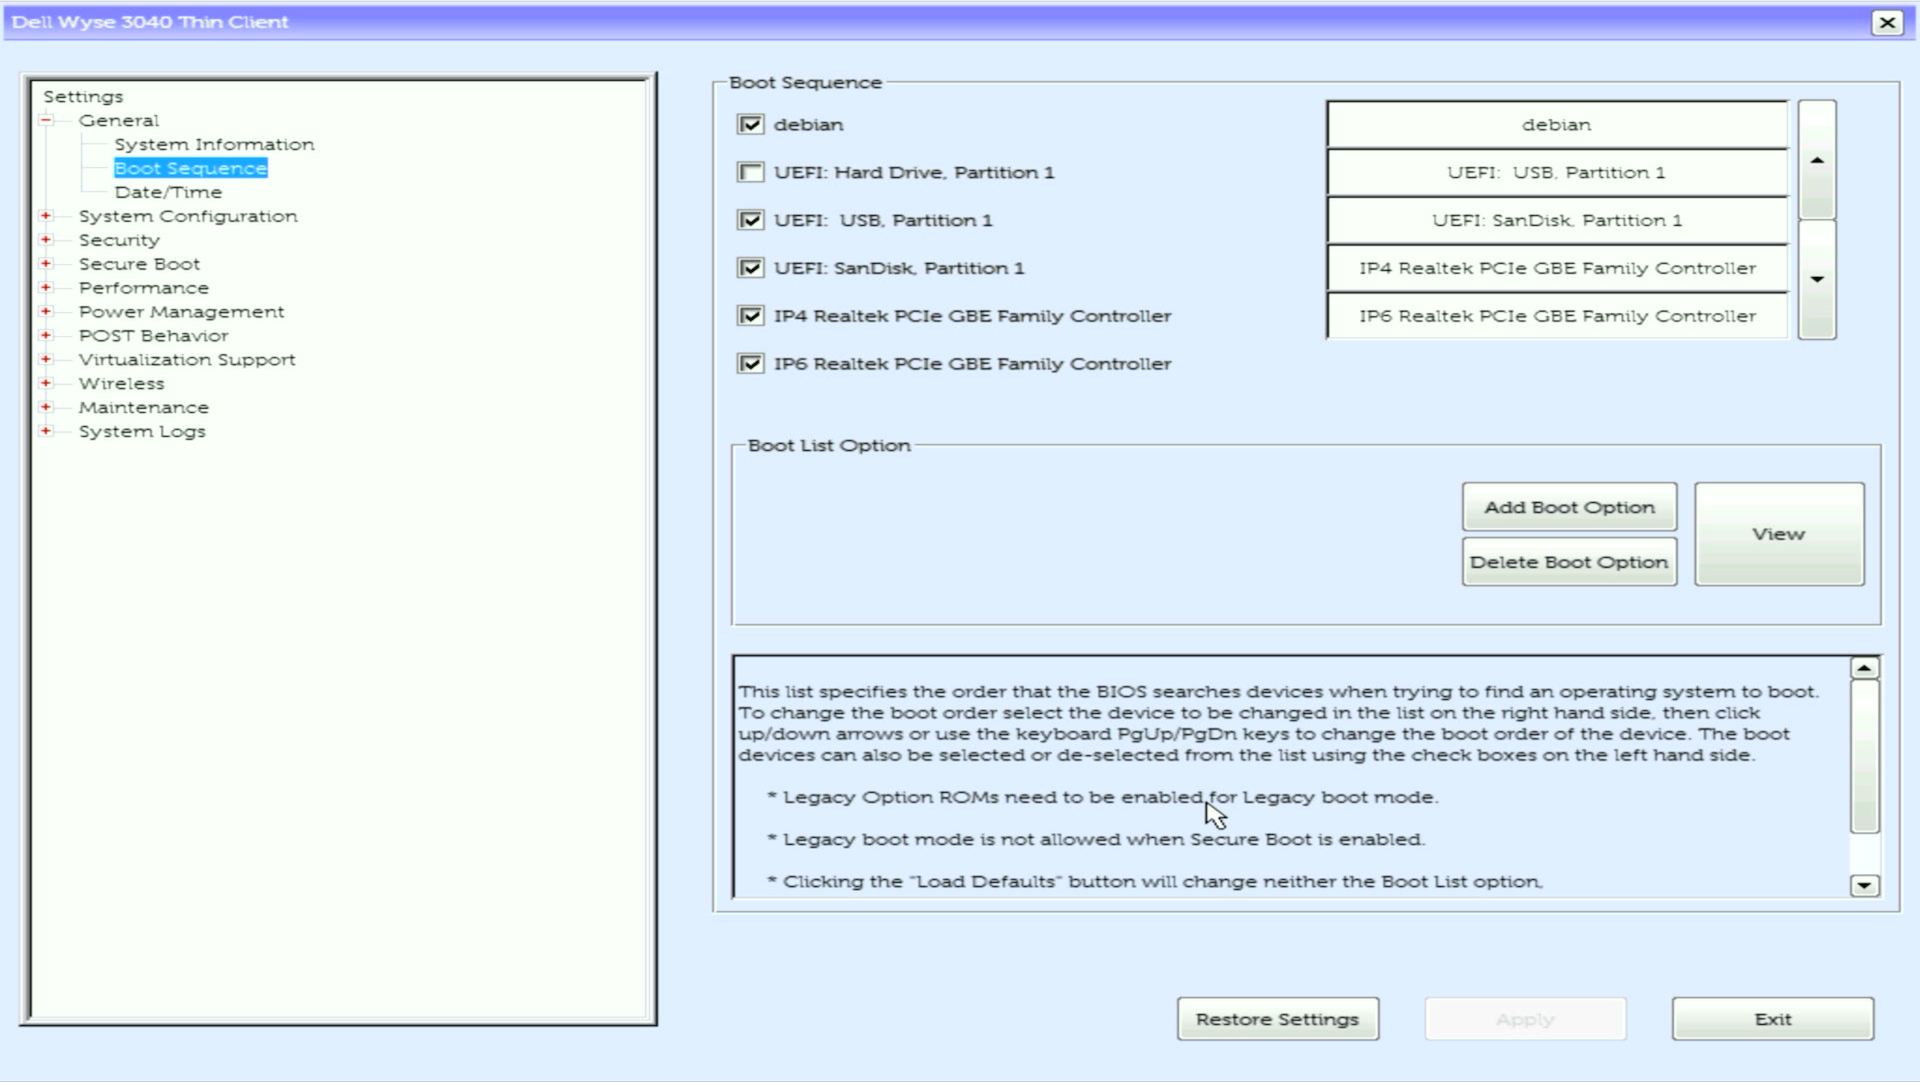
Some things which are helpful:
- F2 for setup
- F12 for the boot menu
- The default password is “Fireport”
Installing Debian
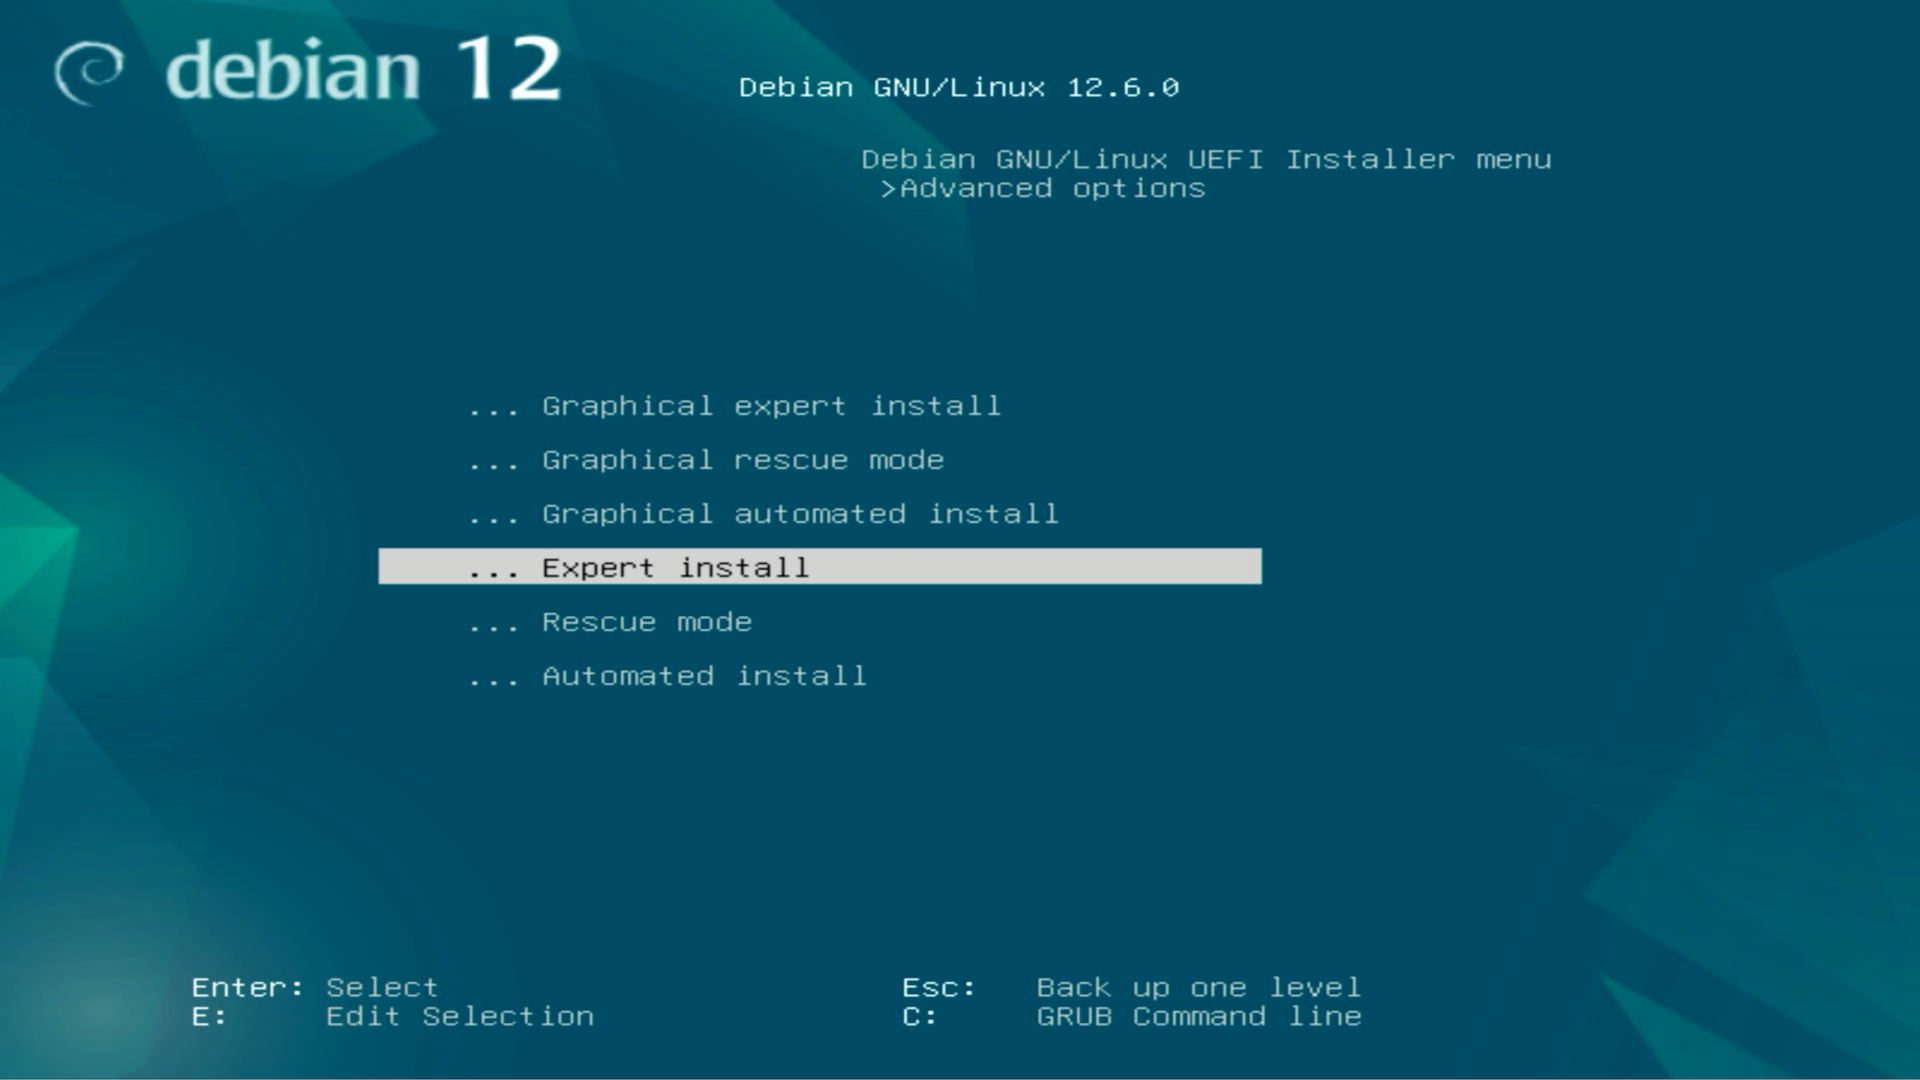
Boot from the USB drive, once you’re at the Debian installer, go into Advanced options and select Expert install.
You can then proceed through each section of the install. In the Expert install mode, you’re asked many more questions, but it’s broadly the same as the normal installer. You just have to select each stage of the installer yourself. I didn’t need to select any additional locales or components for my install and preselected values (for the NIC, kernel, drivers, etc) were all fine.
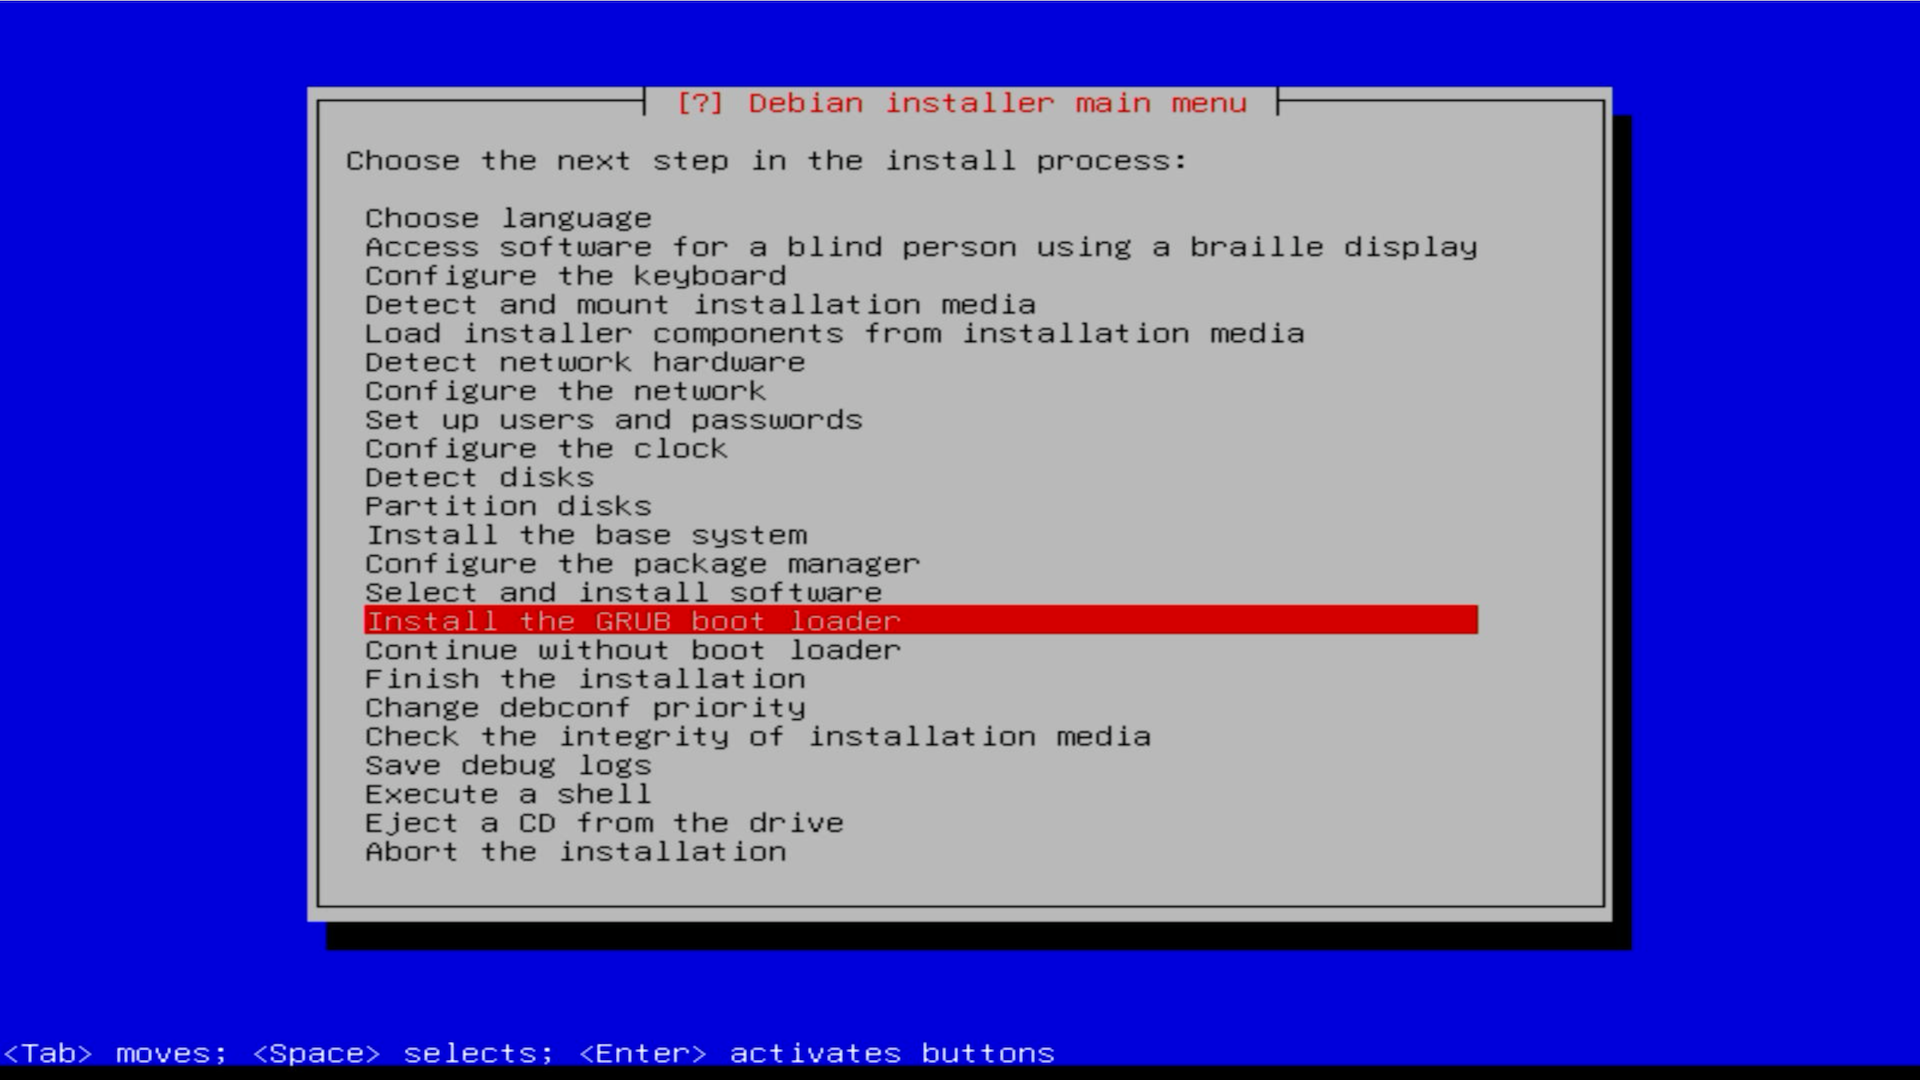
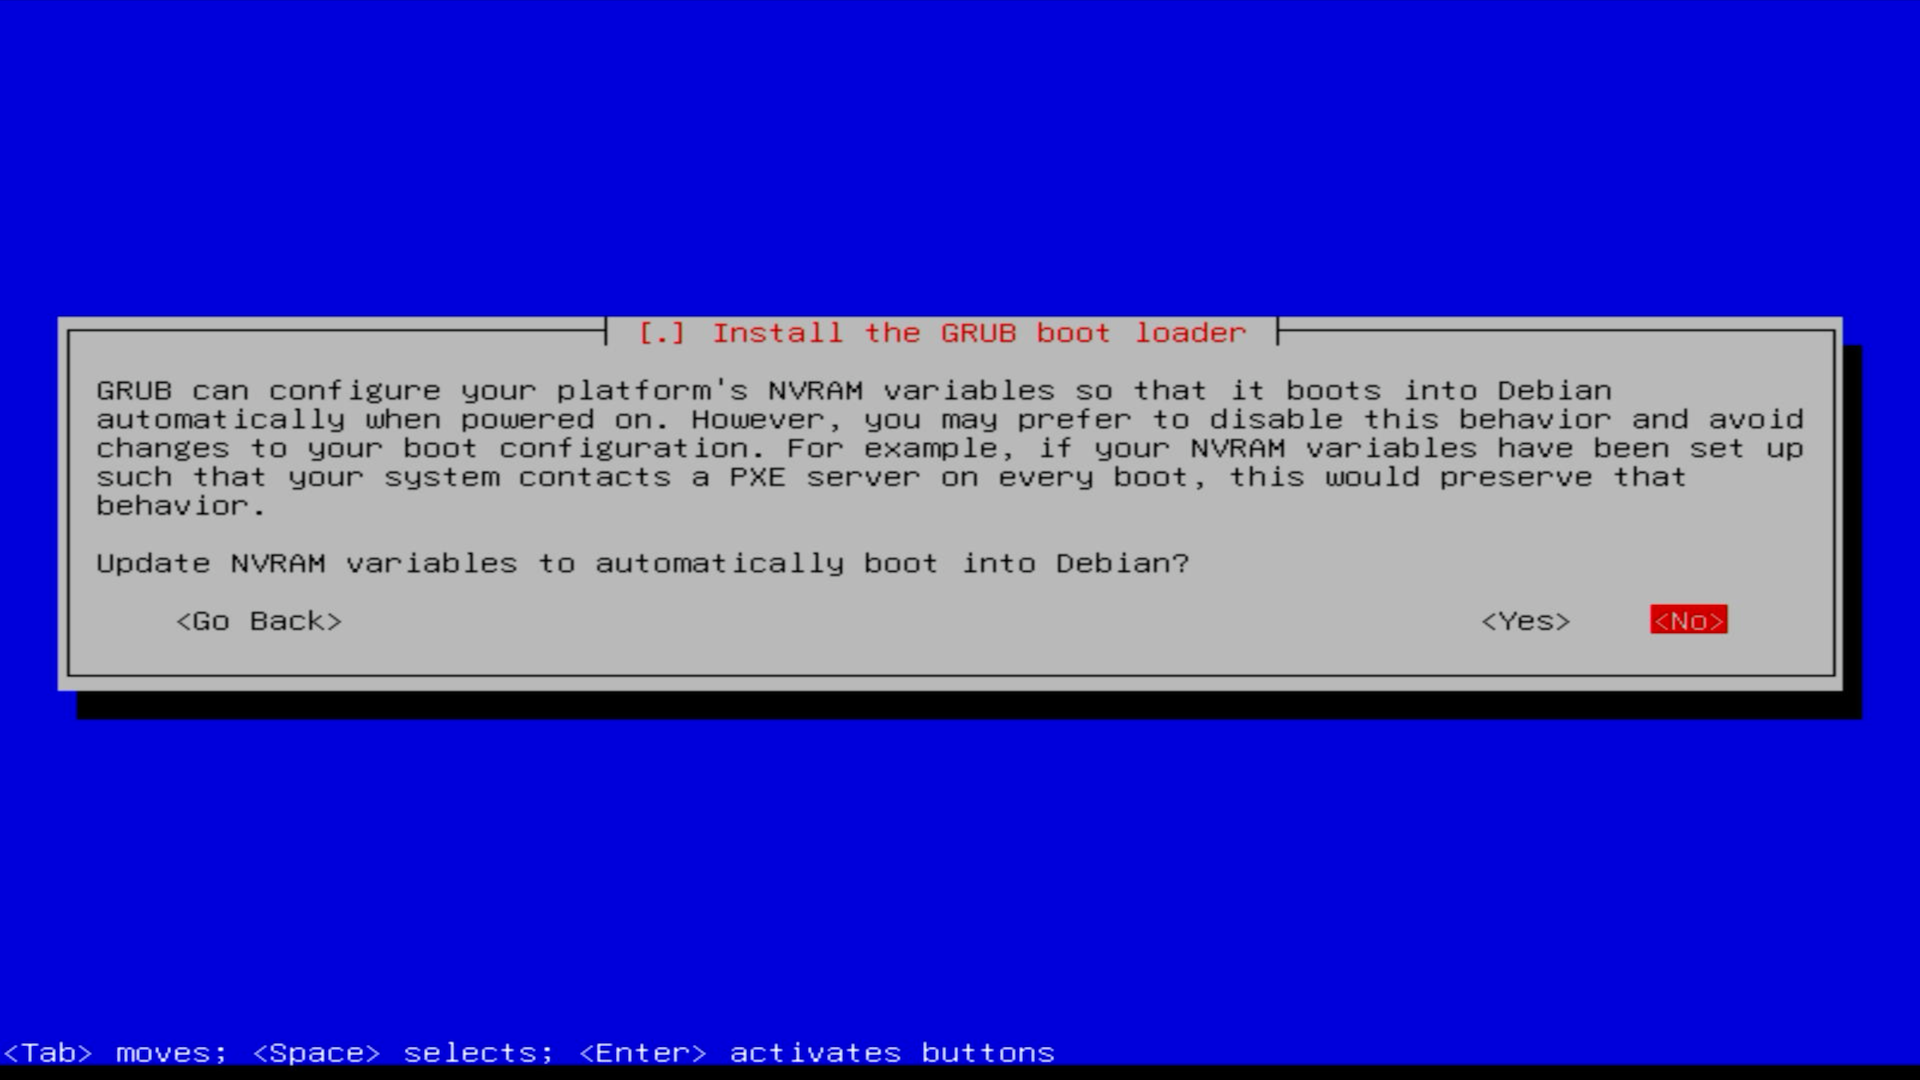
Eventually, you’ll proceed through the setup until you’re ready to select Install the GRUB boot loader:
Then look out for Force extra installation to the EFI removable media path?. We’ll select Yes.
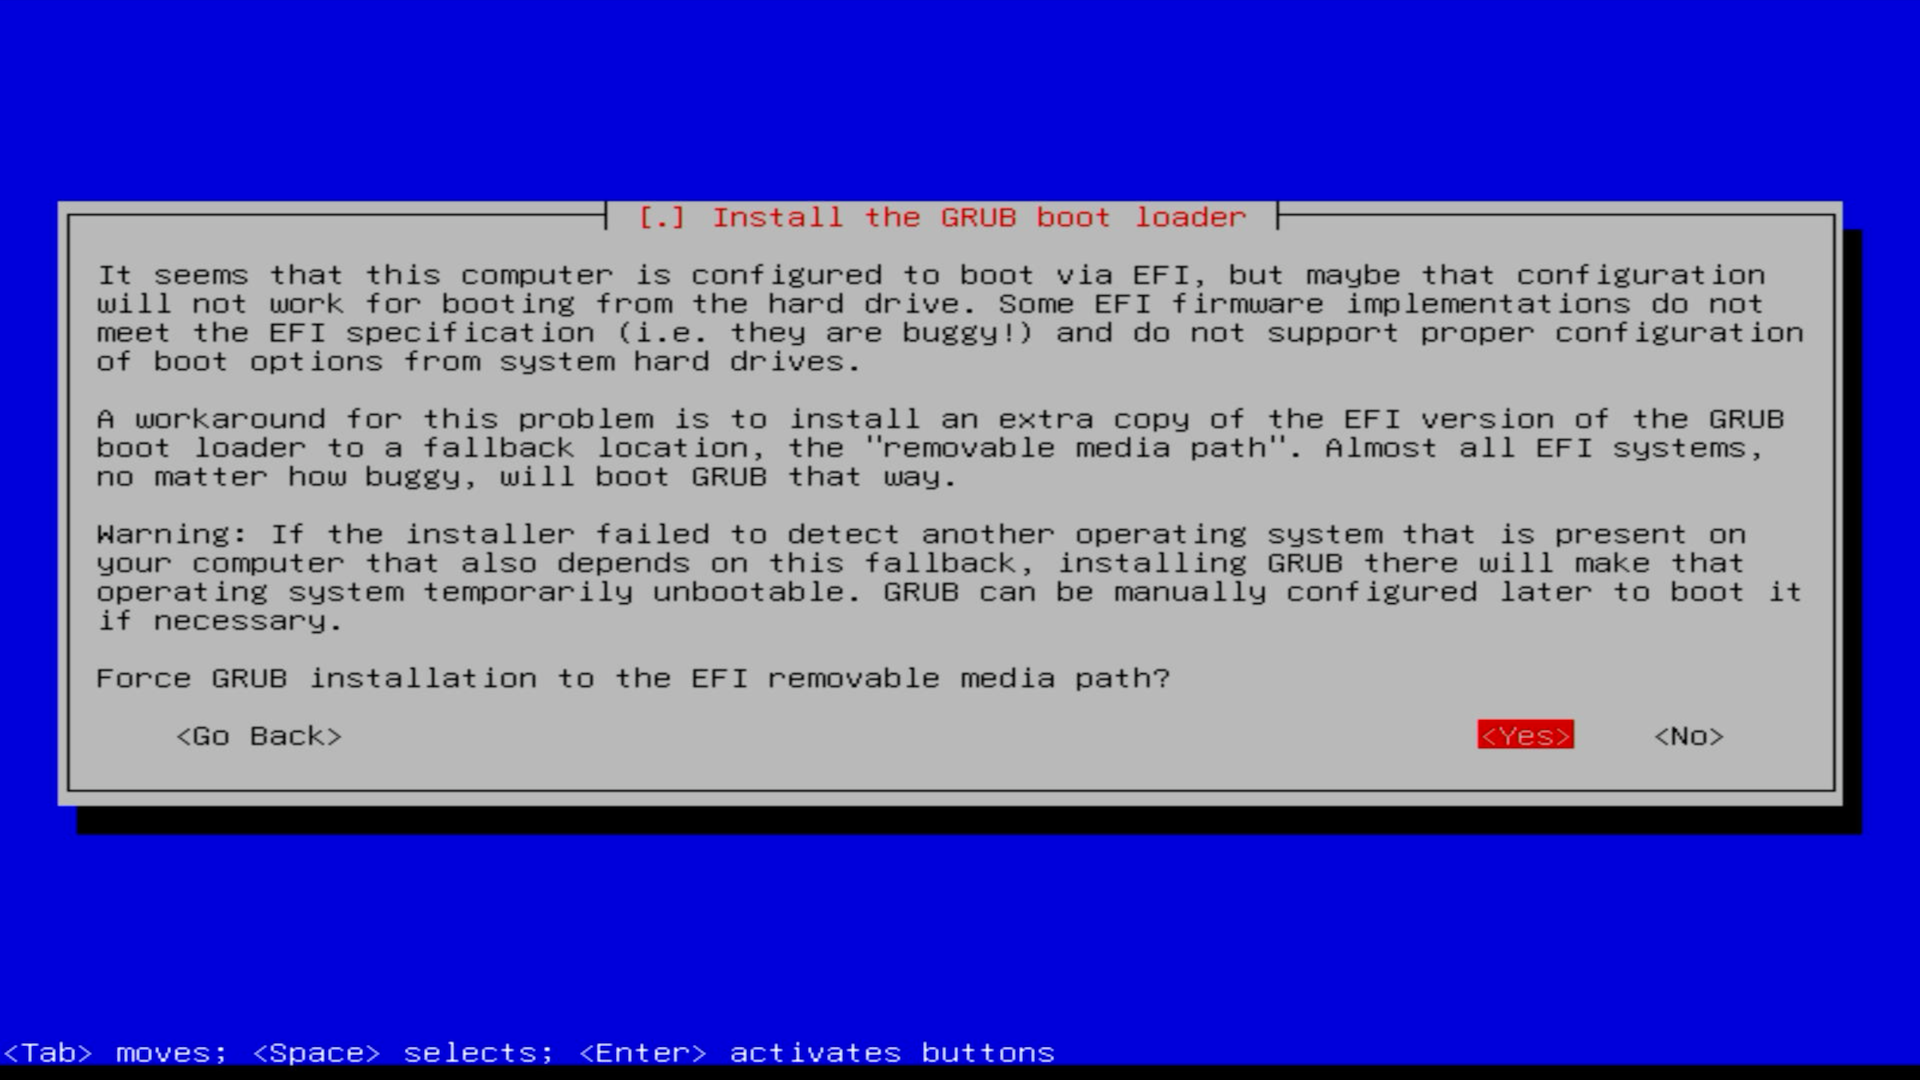
I also selected No to Update NVRAM variables to automatically boot into Debian? to preserve the existing boot behaviour.
Once this stage of the installation is finished, you’ll be prompted to Finish the installation and then to reboot.
Debian should then successfully boot.

You will see errors about an invalid parameter on boot, and also some Intel firmware warnings. For the former, Grub launches soon after and for the second this seems to be harmless (so far).